
Make a website is not optional anymore in 2024. It became necessary to exist online and be known, along with maintaining social media accounts. Since search engines index every keyword and name, you want people to find your business.
Creating a website for you or your business is a crucial step in establishing a strong online presence and reach your target audience. Good news is: it has never been easier to make a website.
In this article we are going to look at the 3 key elements of how to make a simple and efficient website in 2024:
- Design – Create your website with a simple layout and with a good content structure.
- Development – Chose the right code solution for your site with good functionalities and performance.
- Follow good practices for SEO to be found on Google and maximize visibility in search results.
We’re going to break down the process of creating your own website into simple, actionable steps. No jargon, no tech-speak—just straightforward advice to help you get your site up live.
Why make a website
In 2024 it is a necessity to have a website for businesses or individuals who want to market themselves. Since search engines index every keyword and name, being found is important; a website serves as a business card. Make a website is a great way to:
- Market yourself online and promote your brand
- Show that your business is active and running
- Prioritise your online presence in a digital-centric world
Make a website increase the visibility and credibility of your business to potentiel customers, accessing a broader audience. Build a website is a rewarding process that can position you as a leader in your industry and distinguish yourself from the competition.
Start building your website
Buy a domain name
If you don’t own a domain name for your site, it is time to register one. A domain name consists of your address on the internet, like the postal address for your home. Domain names are unique and can have different extensions like .com, .net, .org or for countries like .fr or .uk.
You can buy your domain name to a domain name provider like OVH or GoDaddy. Later on, this domain can be connected to your website hosting.
Make sure to chose a memorable and relevant domain name that reflects your business, is easy to remember and to type. You want to pick something efficient and that people can ideally communicate orally without having to spell it. Usually, we pick a domain name for life, so choose wisely!
Select a reliable hosting provider
It’s recommended to host your domain name and web server at the same place. Usually, domain name providers also offer hosting solution. The two domain name providers we mentioned earlier both offer hosting solution. This website has its domain name and hosting solution on OVH!
Define your target audience
Understand who your website is intended for. Conduct market research to identify your target demographic, needs, preferences and online behaviour. Tailor your website design and content to resonate with your audience.
You can do that by studying websites of your competitors: it’ll help identify how they introduce their business and see how is their design layout.
Define your website’s content and goal
If you have a website, it’s to sell something. You need to build your content around that thought. Setting your content around a central point helps to build a coherent and logic website.
When building a site for a restaurant for example, you can create the content of your landing page with a simple structure:
- Introduce the restaurant concept
- Present the food menu
- Add a little historical background
- Show the location of the restaurant
- Highlight the booking option
Understand who your website is intended for. Users will come to your website with the intention to perform an action. You need to highlight it clearly and guide the user to the action you want them to do. It can be filling out a contact form, purchase a product or subscribe to a newsletter.
In any case, your content and design – that we will explore later on – must present this action clearly.
Prepare your design
The design of your website is what users will remember the most. It’s important to make a strong first impression. To design your website, you can start by defining your brand’s visual identity, including logo, color scheme and typography. If you already have brand guidelines, you can use them as a starting point to define the aesthetic of your site.
No matter if you design the site yourself using tools like Figma or if you re-use a template, you need to ensure that the navigation is intuitive and offer a positive user experience. Use clear call-to-action button and logical organisation of content to help visitors find what they’re looking for efficiently.
Your website design should serve your content and highlight what are the important elements to present. Designing your website should be a process where you always put the user experience in the center. You’re designing for others to enjoy your website, not just for yourself.
Design and build a website in Framer
Build with the right platform – The example of Framer
In order to build your website, you can have the choice between more template based approach like Framer or hire a designer to create your website from scratch.
Using a template-based approach is likely built on a CMS (Content Management System), which provides flexibility to handle the content yourself.
Website built from scratch provides a maximum customisation but might end up difficult to edit content like a simple word later. You will need to interact with the source code directly and needs more attention to maintain up to date.
In a previous article, I highlighted the differences between Framer and WordPress, two CMS. Framer is the new cool kid in town, with a very intuitive interface to edit your content and the ability to publish live in one click. WordPress on the other side, is the mastodonte, the undefeated monster that powers almost 1/3 of the sites on the internet. But as time goes by, he’s getting old and slowly getting beat up by the competition.
Today, we’ll guide you through building your site with Framer, the easiest tool to get started with and quickly set up your site.
Use a Framer template
Designing a website from scratch can be a long and exhausting process. There are so many elements to take in consideration when creating the layout in order to achieve something appealing for visitors. Today, the competition around beautiful designs is fierce. Just check sites like curated.design listing good looking websites to understand that there’s a long way before achieving something unique.
This is why I will always recommend a template-based approach for my clients who wants to have a simple website and focus on the content customisation. You’ll save time and effort using a template and publish your site faster. In addition to that, you don’t have to worry about the technical implementation and responsive adjustments across different devices.
Get started with a Framer template
Edit the content of your Framer template
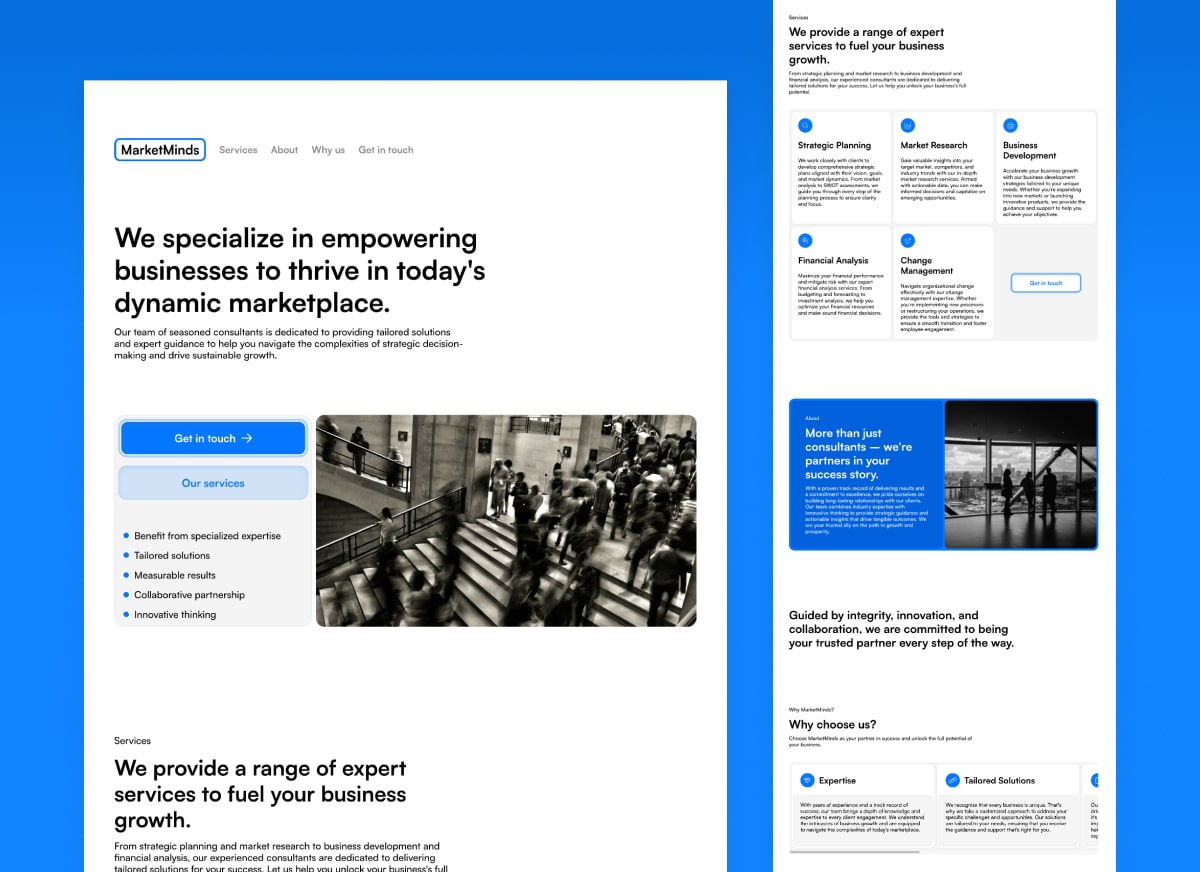
Once you have imported your template in your Framer environment, you can start exploring its layout and understand the content organisation. You’ll see that most template and websites in general follows a similar structure for landing pages:
- Introduction to the product or service
- Presentation of the team
- Additional content related to the first product or service
- Contact form
- Footer
This is an extremely simplified exemple of a website structure, but you’ll see that most sites use more or less that framework as a starting point.
Next, we want to start identify which portion of the content we defined earlier can replace the “placeholder” content in the theme. Identify what will best suit each section to create a coherent flow for visitors. You need to present your content like if it was a natural discussion between you or your visitor.
Respect balance between text and visuals
In order to not drown the visitor in huge portions of text, it is wise to respect a balance between text and imagery. Your site should breathe and unfold its content naturally, with visuals supporting what you’re presenting.
A good way to achieve a balance in text and visuals is to divide your content into sections, where each of them has its text and image.

Follow a template to ensure your layout is correctly structured and replace the placeholder content with your own.
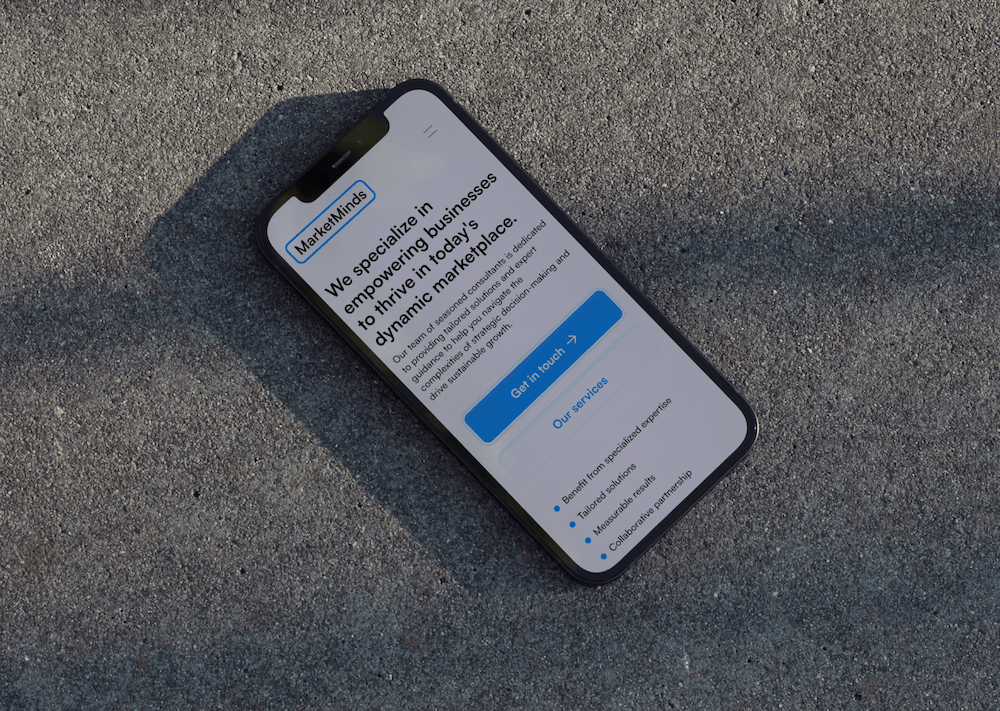
Make your site responsive and mobile-ready
Mobile phones represents 50% of internet usage. It is therefore extremely important that you make your content responsive. The term responsive define the fact that your website looks as good on desktop, tablet and mobile. It consists of adapting your layout structure to fit all different screen sizes. Usually, content displays horizontally on desktop sizes as we read from left to right. On mobile, content displays vertically as we’re more used to scroll.
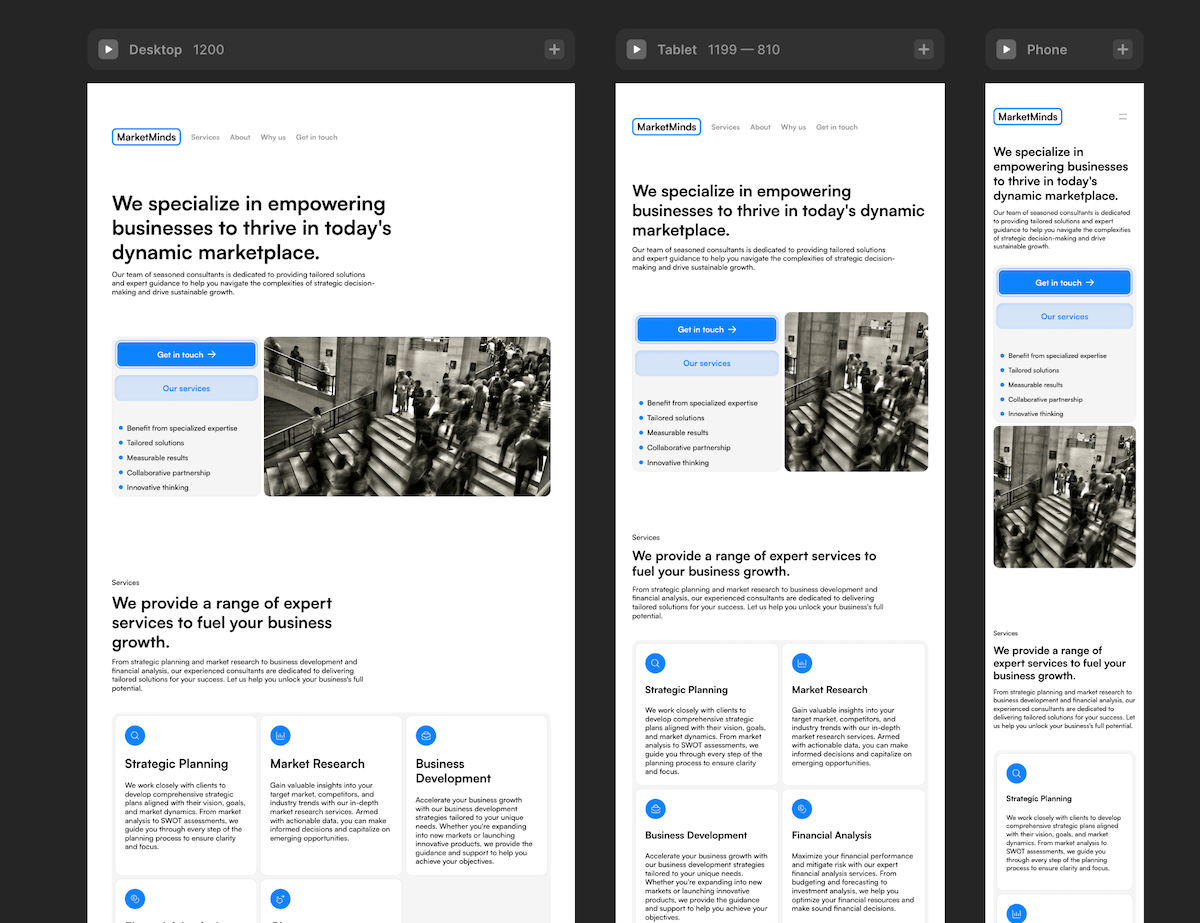
Thankfully, if you’re using a template, they all come with responsive design already built in. On Framer, replacing the content on desktop will automatically apply it to other screen sizes. Nevertheless, make sure to test your site before launching it. Usually, website’s responsiveness consists only of desktop, tablet and mobile for screen sizes iterations. However, it is not rare to see sites only having desktop and mobile iterations, where tablet is skipped, having the same layout as mobile.
Optimise SEO and publish your site
Almost done! Once you have finished building the layout of your site and ensured it looks good on all screen sizes, you can then start planning the launch of your site.
Before that, check the basic SEO elements around your page, such as the page title, favicon, meta description, or social media image. With Framer, this is made super easy.
Check the basic SEO settings for your site
First of all, set the title of your site and input a meta description.
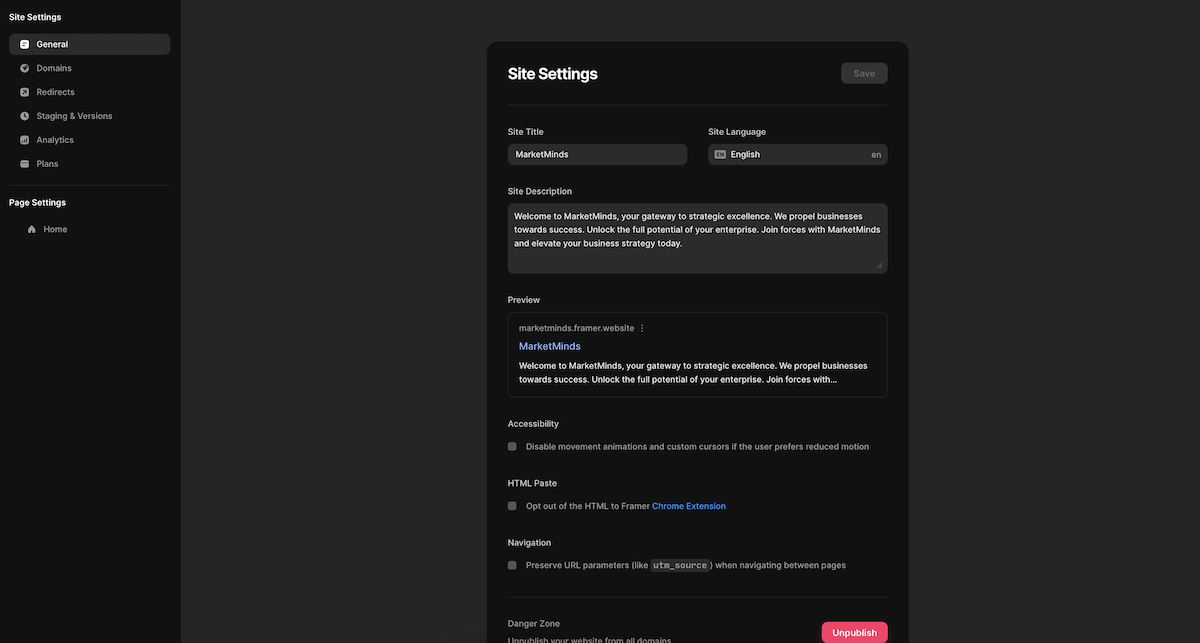
The Title should be the name of your business, with a quick catchphrase or motto you use. Like “MarketMinds | We help you succeed online”. This is how your site will appear on search engine results.

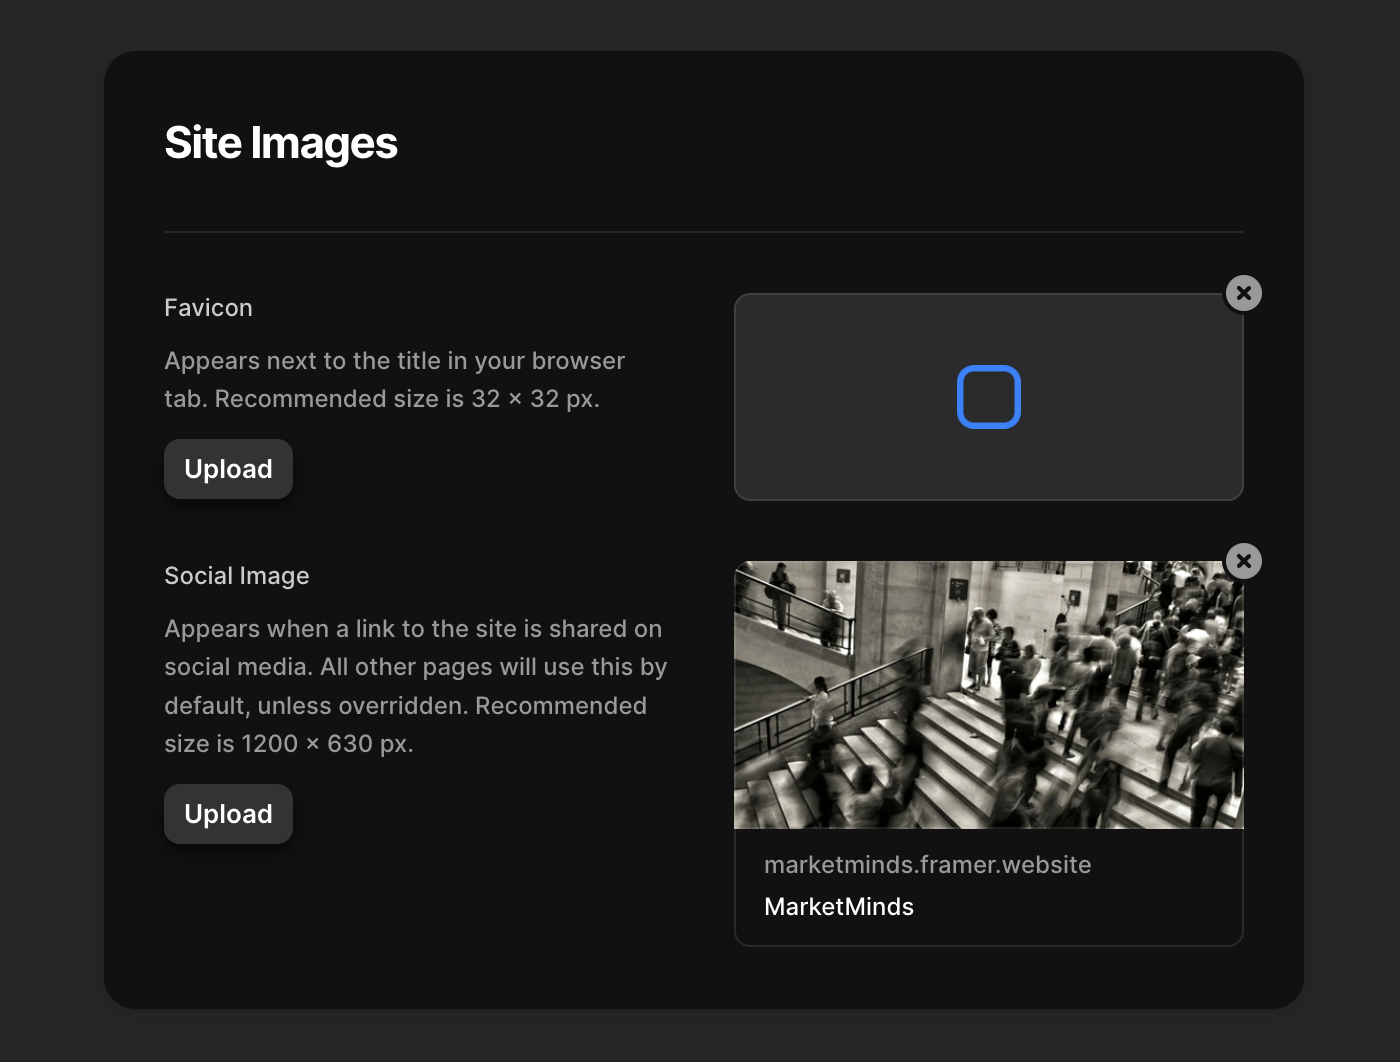
Adding a Page Images will attach an image to links every time you share them online. This is adds more personality to your page than just a blank link with the site title. It can be your logo, a picture of your team, your product or simply a decorative picture like I’ve used for that example.
If you are running Google Analytics on your site, you can add the Gtag link to your <head> in this section. Adding the code to Start of <head> tag will be enough to trigger Google Analytics.

Indexing your site on search results can take from 2 to 6 weeks or more for Google, depending of the number of pages you have. It’s better to start with a correct SEO semantic from the beginning to not lose time waiting for new indexations. From the moment you edit something to the time it reflects on search engines, it can take several weeks.
Connect your domain name to your site
Last step before publishing your site is to connect your domain name.
In order to publish your site with a custom domain name, you have to purchase a subscription with Framer. If you’re simply using a one page site like the templates shared above, you can use the MINI subscription that Framer offers.
When you’re ready to connect your domain, you’ll need to point your domain to the Framer site. To do so, you need to add records to your DNS settings. The process can be a bit tricky if you’re not familiar with domain and DNS settings, so this official tutorial from Framer will explain things in full details.
Publish your site
After you’ve successfully connected your domain to your site, you can hit Publish on Framer and see your site go live on your domain name.
Make sure to test it again to see if everything looks like you expected and that the Google Analytics tracking code works correctly. You can also register the site on Google Search Console to monitor your technical settings’ performance and see how your site is indexed.
If you need help to create and publish your Framer site, you can count on .END Agency to assist you.